Connection Instructions
Linux
Our DialzipTM dialup network is
compatible with all Linux operating systems. Linux is open source
and has several default dialers. Check your Linux documentation
for which dialer your system supports. If you do not know, try the
Universal Dialer or the command line dialer. Please note most Linux
dialers do not have dymanic DNS and therfore require DNS addresses.
Please contact us if we forget to provide you with these settings.
To setup your account properly you should be familiar with the
dialup protocols of your operating system.
Setup for Linux
using the KPPP Dialer:
KPPP is an indepth and easy tool
for configuring dialup. It works much like the default Windows
dialer and is therefore recommended. It comes with the default
installation of KDE Linux, so if you use that version you likely have
it available. For further documentation during your setup you can
also click on QUICKHELP links inside of KPPP at anytime.
1.) Click on the SETUP button.
2.) Click on the ACCOUNT button.
4.) Click on the NEW button.
5.) Specify your connection name as
WEBCS.COM DIALUP. Enter the phone number you will connect to.
And then select PAP as your authentication protocol.
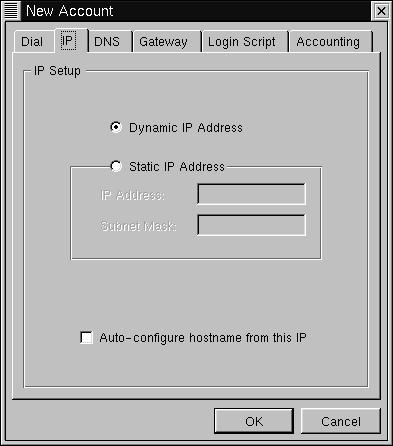
6.) Click on the IP tab.
7.) Leave your IP connection as DYNAMIC.
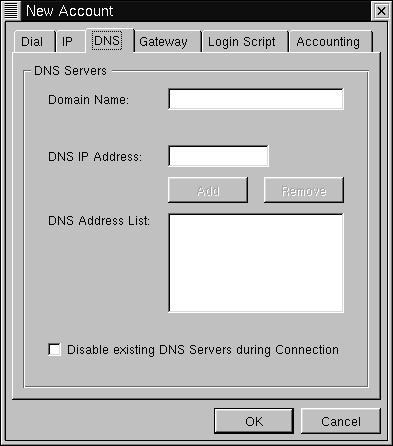
8.) Click on the DNS tab. You
will now enter the DNS servers that we supplied you with at setup.
If you did not receive any from us please contact support with
your primary dialup number and we will provide you with them.
9.) Enter the two DNS servers we provided in the IP address box (leave
the domain box above it blank) and click on add. Do this twive
(for each IP address we gave you).
10.) Click on the GATEWAY tab and make sure DYNAMIC or DEFAULT is
selected (not static). The box marked "Assign the Default Route" should
be checked.
11.) Click OK to close and save
what you have done so far.
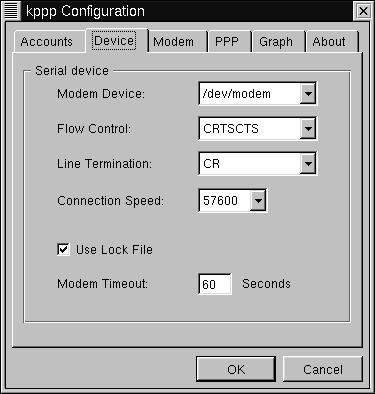
12.) Click on DEVICE. This
area contains the congif data for your modem. Leave this area alone
unless a modem is not specified already.
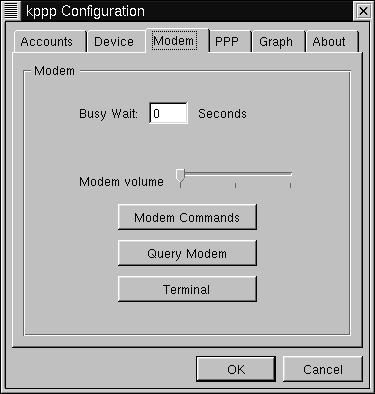
13.) Click on the MODEM tab.
Make sure the volume is up so you can hear your modem when it
attempts to dial. If you do not hear your modem when you connect
it is not installed properly or your wall jack is not connected.
14.) Click OK to leave all menus.
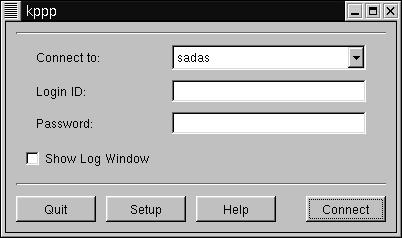
15.) Your done. Now ensure
your connection is selected in the "Connect to:" box, and click
CONNECT. You should dial into the network.
16.) For more documentation on KPPP visit the KPPP website.
|