Connection Instructions
Linux
Our DialzipTM dialup network is
compatible with all Linux operating systems. Linux is open source
and has several default dialers. Check your Linux documentation
for which dialer your system supports. If you do not know, try
the Universal Dialer or the command line dialer. Please note most Linux
dialers do not have dymanic DNS and therfore require DNS addresses.
Please contact us if we forget to provide you with these settings.
To setup your account properly you should be familiar with the
dialup protocols of your operating system.
Setup for Linux
using the KPPP Dialer: (more info)
KPPP is an easy tool for
configuring your PPP links and therefore highly recommended. It comes
with the default installation of KDE Linux. The dialer acts much
like a Windows dialer and its therefore very intuative.
KPPP also has a good help system
built in. If you just right click on the majority of the buttons in the
application, a menu will pop up with an item called "Quickhelp".
Clicking it will give a quick summary of an item.
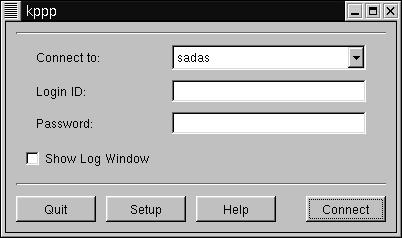
The opening screen of kppp will list any available connections, and
allow you to specify a Login ID and password for the connection. There
is also a "Show Log Window" option. Selecting this will show a log
window. This can be handy if you are trying to debug a connection.
1.) Click on the "Setup" button.
Then select the ACCOUNTS tab.
2.) Select NEW. Another menu will
pop up.
3.) Specify the name WEBCS.COM
DIALUP as a name for this connection in the "Connection Name" box.
Enter the primary phone number you will dial into.
4.) Select the type of authentication and set it to PAP. You can
optionally store your password between sessions.
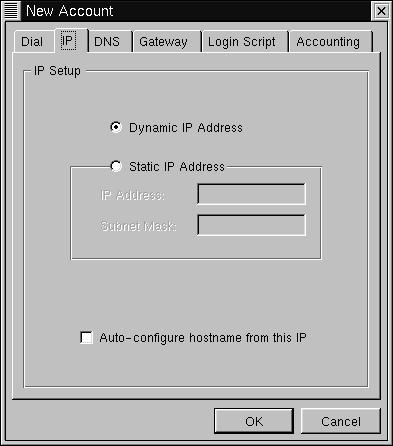
5.) Now, click on the IP tab. Make
sure it is clicked as Dynamic not Static.
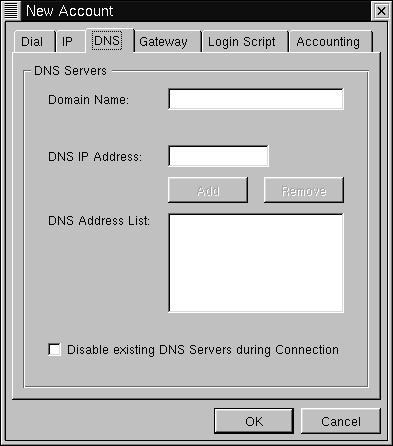
6.) Click on the DNS tab. No
domain name is needed. Enter the two DNS IP addresses we provided
you at setup individually and press ADD each time.
7.) Click on GATAWAY tab. Make sure
default or dynamic is selected and not static. The box marked "Assign
the Default Route" should be checked.
8.) Click OK to finish the creation
of your dialer account.
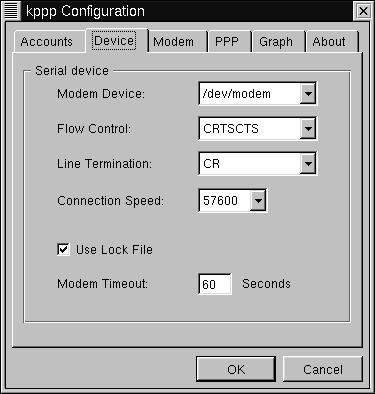
9.) Now continue to the DEVICE tab.
It contains configuration information about your modem. You can
select the device, flow control, line termination, and connection
speed. If your modem is already setup here we recommend leaving
these settings as is, otherwise select your desired modem.
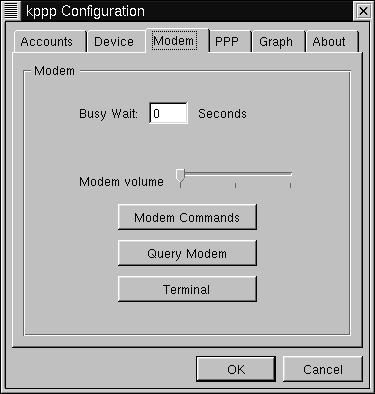
10.) Click on the MOEM tab and make
sure to but your volume on so you can hear the modem working when you
dial. If you do not hear it the modem is not configured properly
or the line is not connected to the jack properly.
11.) Click OK to leave all
menus. Now ensure your connection is selected in the "Connect
to:" box, and click CONNECT. You should be good to go!
|